
Whether it’s a house you live in or an apartment you own, a furnace is essential to chase away the winter chill. While the procedure is always handled by professionals for efficiency, safety, and legal requirements, it does help to have a theoretical understanding of the process. This is why T.E. Foley Home Services has created this guide, detailing everything from initial consultation to product installation to final inspections and beyond, putting you in the know of the furnace installation process.
The A-Z Of Furnace Installation: How It Goes
Whether you’ve moved into a new home or are upgrading your outdated heating systems, Fall is the perfect season to prepare for the upcoming winter. If you’ve got a furnace installation appointment scheduled any time soon, here is how the process should look.
Read along as we explain everything.
Step 1: Consultations & Evaluations
The first thing that any good HVAC contractor will do is to visit your home and get a clear idea of its layout and ductwork. The HVAC technicians will also gauge your heating requirements based on your indoor space, understand your budget, and recommend the best type of heating system for your unique needs.
Step 2: Selecting The Right Furnace
Up next, they’ll go over all the available options for your property. Selecting the appropriate furnace requires a detailed understanding of the property’s size, the product’s AFUE rating, and your preferred fuel. Once you pick something that suits your requirements, the installation process can actually begin.
Step 3: The Prep Work
Okay, now it’s time to set the stage. Your technicians will remove the old furnace in case it’s an upgrade, ensuring easy access for the installation phase. They will assess the current ductwork and electrical systems, replacing outdated components and repairing damaged ones before thoroughly cleaning the vents for proper airflow and efficient heating.
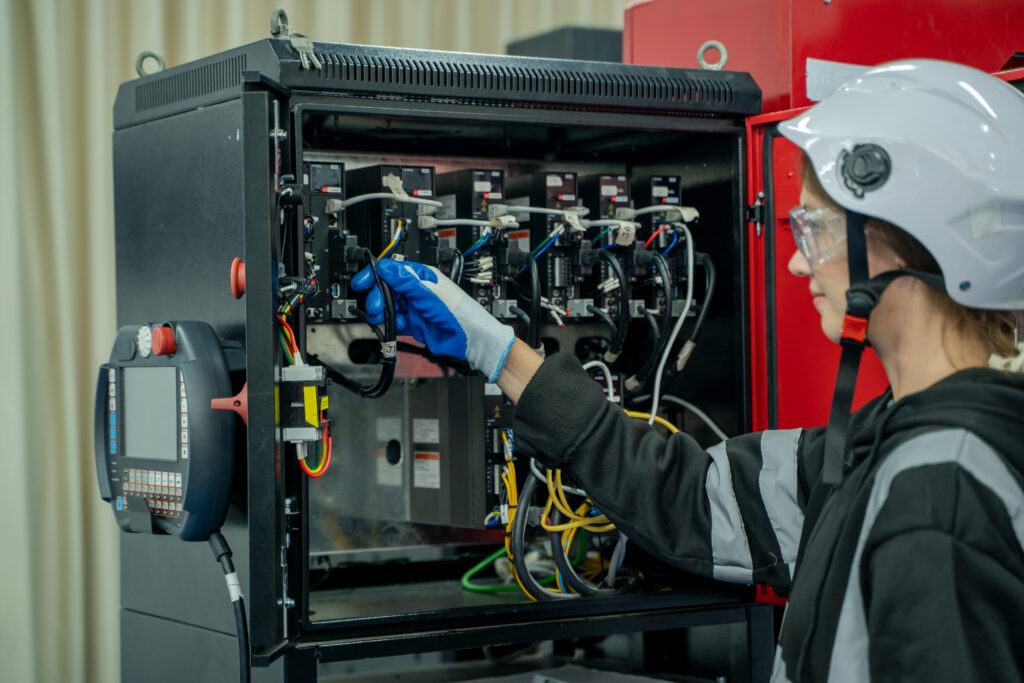
Step 4: Furnace Installation
Finally, the techs will set up your new furnace. This includes carefully selecting the most appropriate spot for installation so that each part of your property receives ample heat during the cold months, connecting the furnace to the vents, gas or electrical system, and ensuring each safety code is adhered to.
Step 5: Calibrating the New Heating System
Now that the new furnace is firmly in place, the HVAC contractors will calibrate the furnace according to the manufacturer’s instructions. They will also check the thermostat and its compatibility and make any necessary changes so that the system performs well.
Step 6: Test Run
Time to see how well the new furnace works! After switching on the breaker, the team will carry out a test run of the system. This is important so that any issues can be addressed immediately instead of you having to schedule repairs in the future.
Step 7: Final Walkthrough & Maintenance Instructions
Once it’s all done, your technicians will conduct another consultation with you. They will guide you on how to use and program the furnace, answer questions, and highlight key features of your new heating system. They will also offer expert tips on how to maintain the new heating system for optimal performance and energy savings.
Maintaining Your New Furnace: Tips & Tricks For Efficient Performance
Now that you understand how the furnace installation process is carried out, there are a few things you should keep in mind to keep it running well.
Let’s go over a few maintenance tips the HVAC techs may mention to take care of your furnace:
- Regularly Change The Filter: This is important to protect indoor air quality and efficient heating.
- Cleaning Out Vents: Clean out vent covers and the interiors of your vents to reduce allergens and enhance performance.
- Listening For Strange Noises: When hearing banging, buzzing, or whistling noises, you know something’s wrong, and you should call in professionals ASAP
- Scheduling Yearly Inspections: finally, having professionals clean and assess your systems once a year catches small problems before they become big ones, lowers pressure on your heating systems, and extends their lifespan.
Conclusion
A furnace installation is non-negotiable for chilly areas during winter seasons. It chases away the chill, keeps you from getting sick, and adds to the value of your home. The process goes from initial consultation to selecting appropriate products, to prep ork, and doing final inspections during a typical installation. Remember to clean your vents and schedule routine inspections to safeguard your investment, heating system, and home.
FAQs
How long does a furnace installation usually take?
Depending on the complexity of the project, it can take anywhere from 5 hours to an entire day.
What should I do to prepare for a furnace installation?
Clear a path to the breakers and vents, move furniture and boxes out of the way, and secure pets, children, and any fragile items.
How much does a furnace installation cost?
Depending on the size, type, and model of the furnace, additional work and local labor costs, the process can range anywhere between $2000 and $14000+